Well folks, Halloween is gone, Thanksgiving will be here in just a few more days and then comes that wonderful Holiday Christmas! While we never want to forget the reason for the season, this is a time when crafting abounds as we crafters search for ways to provide presents for all on our list! This is the time that I am making lots of lap quilts as you have seen in previous blogs, pillows, aprons, napkins, potholders and this year I'm making some pillowcases also! This past week has been my pillowcase week and the cases I have made have been made from stash, so dig through that stash for your larger pieces of fabric and even your 3" strips. There are so many pretty fabrics available with kid themes that you also have a wonderful selection at the fabric stores. One thing I really strive to do is get 100% cotton material so it is all very much washable and easy to get stains out of if necessary!
Well on to how to make these wonderful little gifts....
What you will need: Fabric for the body of the case 27" x wof (width of fabric) Now we all know that fabric comes in different widths but this is talking about your standard width of approximately 42 to 45 inches.
Fabric for the cuff: 9" x wof
Accent piece of fabric: 3" x wof
How much simpler can we get. 3 pieces of coordinating fabric. Now if you go to the fabric store to purchase the fabric and you know you are going to make more than one pillowcase and you want to stretch those dollars, if you purchase 1 yard of fabric, you can get a body and a cuff from that fabric so you can make coordinating pillow cases by getting 1 yard for the main fabric on one pillow case and have the cuff for the coordinating pillowcase from that 1 yard of fabric without waste! If you purchase the same accent piece of fabric you will need only 6" x wof for both pillowcases, but switch it up any way you want and you can even use the same accent piece for 4 pillowcases and just purchase 1/3 of a yard of accent fabric. (Just be sure that your fabric store is cutting the fabric straight) Sorry but I have gotten home after purchasing 1/3 yard of fabric and found it was 12 inches on one side of the cut and 9 inches on the other! Did not make my day I can tell you. Actually took some back to the fabric store because of it, and that was a major hassle!
So cut your fabric....

1. The body of the pillowcase
2. The cuff of the pillowcase

3. The accent piece for the pillowcase

4. Fold the accent piece in 1/2 so it is 1 1/2" wide and press with wrong sides together.

5. Layout the cuff of the pillowcase, right side up.

6. Lay the accent piece with the raw edges aligning with the raw edge of the cuff on the top edge.

7. Align the body of the pillowcase fabric wrong side up with the raw edge also along the top edge.

8. Fold the excess length of the body of the pillowcase up so it is smaller than the cuff piece.

9. Fold the bottom part of the cuff up matching the raw edges forming a tube and pin the raw edges together catching both edges of the cuff, both edges of the accent piece and only 1 edge of the body of the pillowcase.

10. Sew a straight seam down the length of the tube you have created.

11. Turn the tube right side out.

12 Press being sure to turn the accent piece toward the cuff.

Don't worry that all of your fabric has not been the same width. Just try to keep it as straight as possible on 1 side.

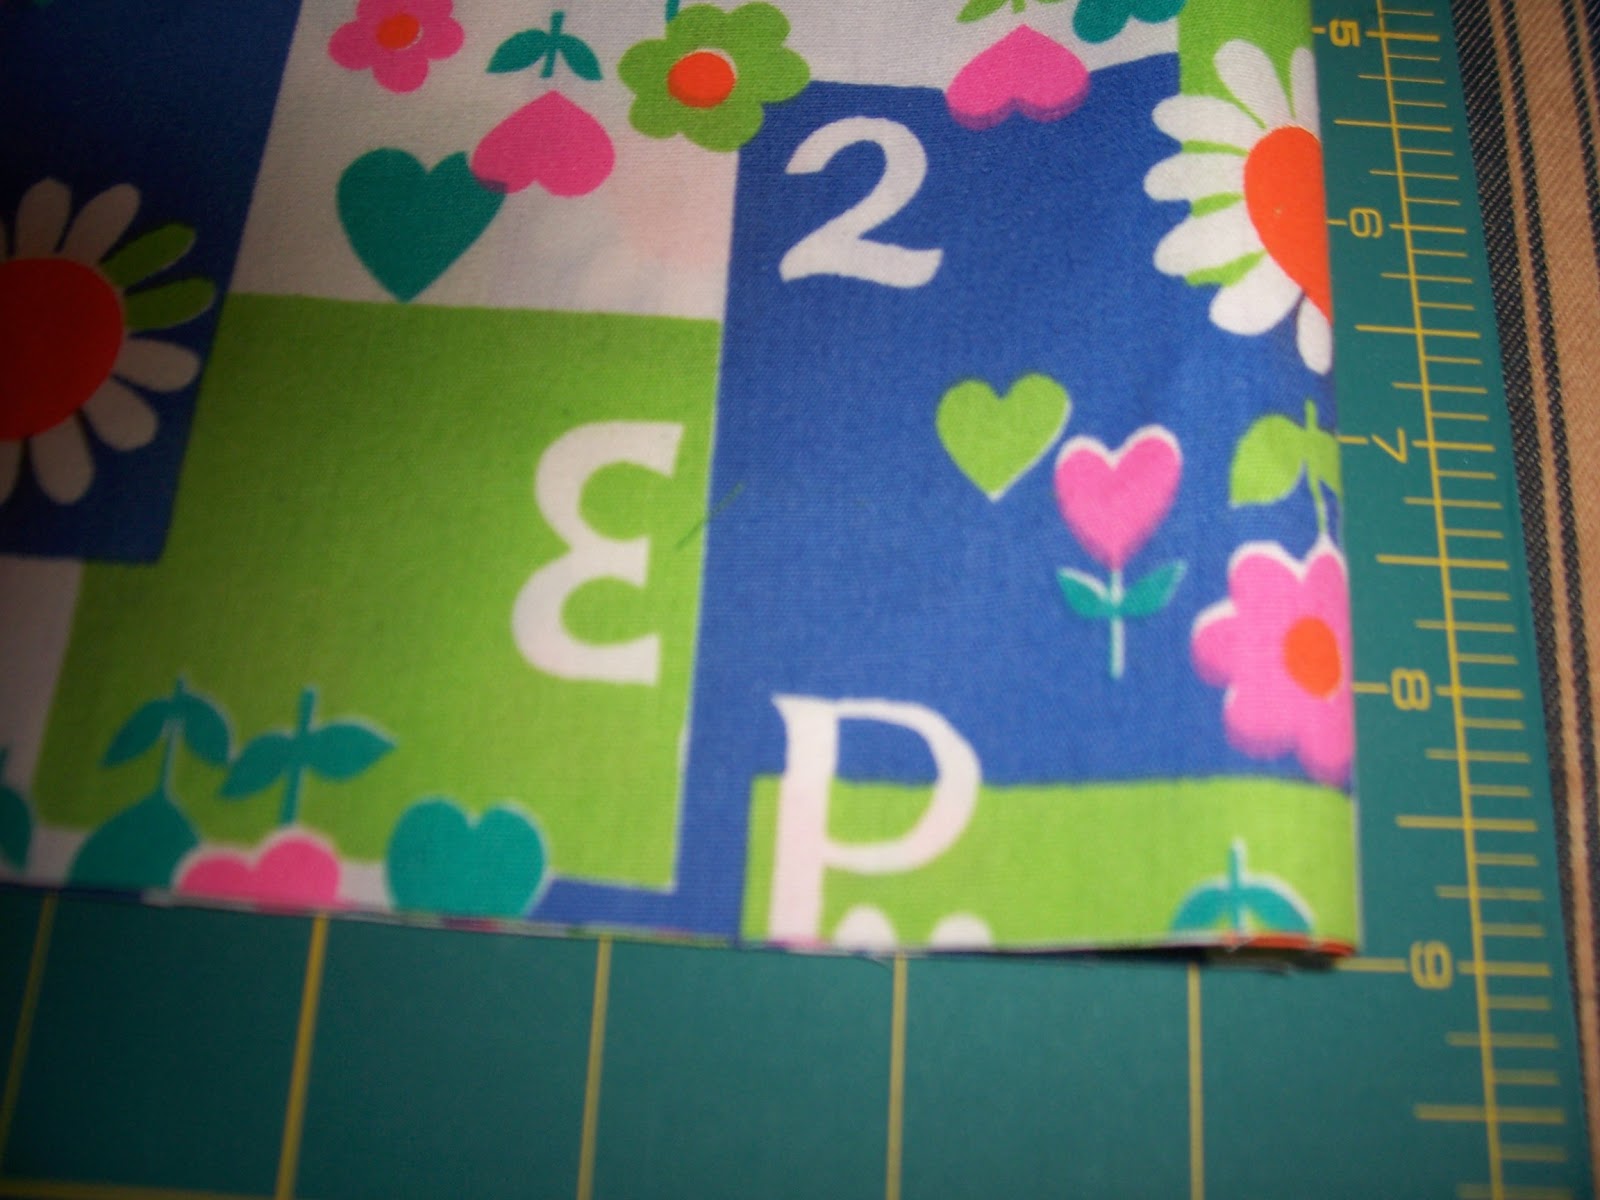
13. Trim the edge of the case to remove uneven edges and selvedges.

Now you have a nice straight edge to sew.
16. Fold the case in half , right sides together matching the cuff and accent pieces.

15. Making sure to pin your edges at the accent piece so they will stay straight then sew a seam around the two raw edges of the pillowcase.

16. Those pesky corners need to be trimmed so you get a nice corner.
(TIP: When getting ready to turn a corner stop a couple of stiches early and turn you material half way around the corner, take 2 stitches and then lift the pressure foot and turn the rest of the way around the corner. You will have a sharper corner that is more easily turned after trimming.)

17. Turn the pillowcase right side out and press.

18. Now to make a nice finished seam once again sew around the two edges where you made the previous seam and all raw edges will be encased so there is no raveling when it is being washed.

As you can see I have made several of these pillowcases for gifts for family. Kids seem to really love them because this labels the pillow as their special pillow. Parents love for kids to get them because they don't require batteries and they do not make noise!
Now if you really want to share the Christmas spirit you can make up a few extra of these and donate them and particularly now with the hurricane Sandy victims items like this are needed as well as making them for your local childrens hospitals (check with them first) or you can give them to any of your shelters, because they can always use bedding items, or some of your other organizations like the Salvation Army or Red Cross. Just call and check with them and see what they tell you before making up a large number. You make even want to talk with your local guild and see about a community project. I wish you all a wonderful day and hope you enjoy the preparations for the holiday season.
No comments:
Post a Comment